Cross Stitch for Beginners: a step-by-step guide
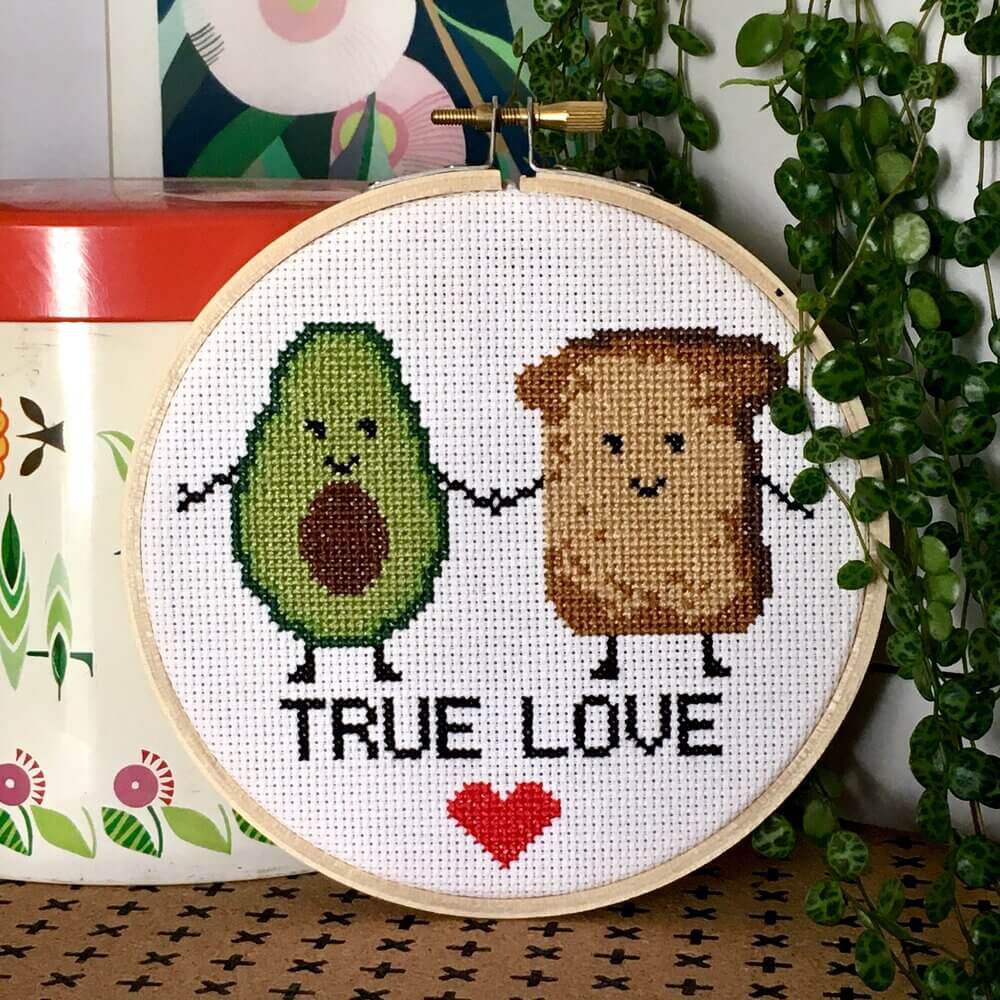
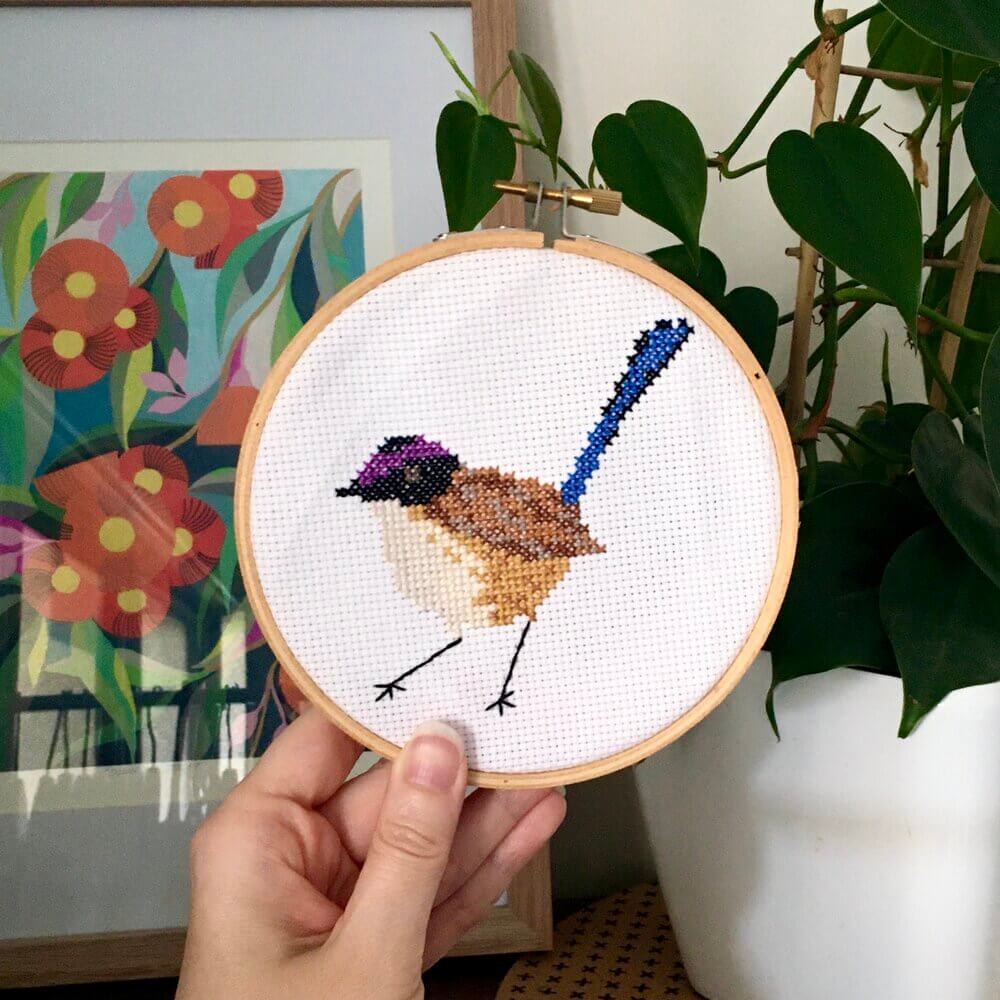
Cross stitch is one of the easiest forms of embroidery to learn, which makes it perfect for beginners. In the tutorial videos below, I'll show you how to cross stitch with our purple crowned fairy wren counted cross stitch kit.
What's stranded cotton and how do I read the colour chart?
Stranded cotton, or floss, is commonly used in many forms of embroidery, including cross stitch. It's made up of six strands. This kit is designed to be stitched using two strands. To separate out your strands, hold all six strands in one hand, between your thumb and pointer finger. In the other hand, tease out two strands and gently pull, being careful not to knot the the floss.
The colour chart shows you where to stitch and which colour to use. Each square on the colour chart represents a square on the aida or cross stitch fabric. At the bottom of the chart, there is a key that lists each thread. Each thread colour is represented by a coloured symbol. Where thread's symbol is shown on the colour chart, you will stitch that square in that colour.
How to cross stitch
In my opinion, there's really only one rule for cross stitch: Make sure all of your bottom half stitches are sewn in the same direction and all of your top stitches are stitched in the opposite direction. This will ensure a smooth, clean finish.
How to back stitch
If your cross stitch design has back stitch, generally you will stitch this once you have finished all your cross stitching. Back stitch is usually shown as a solid line. In the case of our purple crowned fairy wren, its legs are stitched in back stitch.
How to set up your hoop and start to stitch
An embroidery hoop is not essential to cross stitch. You don't have to use one. However, when you're starting out it can be easier to learn with one to maintain good fabric tension.
Finishing your hoop
[Video coming soon]

